NEW ORLEANS (WGNO) – There are records for rainfall and physical damage from a flood, but emotional injuries are impossible to measure. Insurance companies can give you the funds to replace many of the material items lost in a storm, but if you had to leave precious photos behind and are returning home to soaked images and waterlogged photo albums, we got some advice from the experts at Operation Photo Rescue. Here are six steps to salvage success:
1. Act fast!
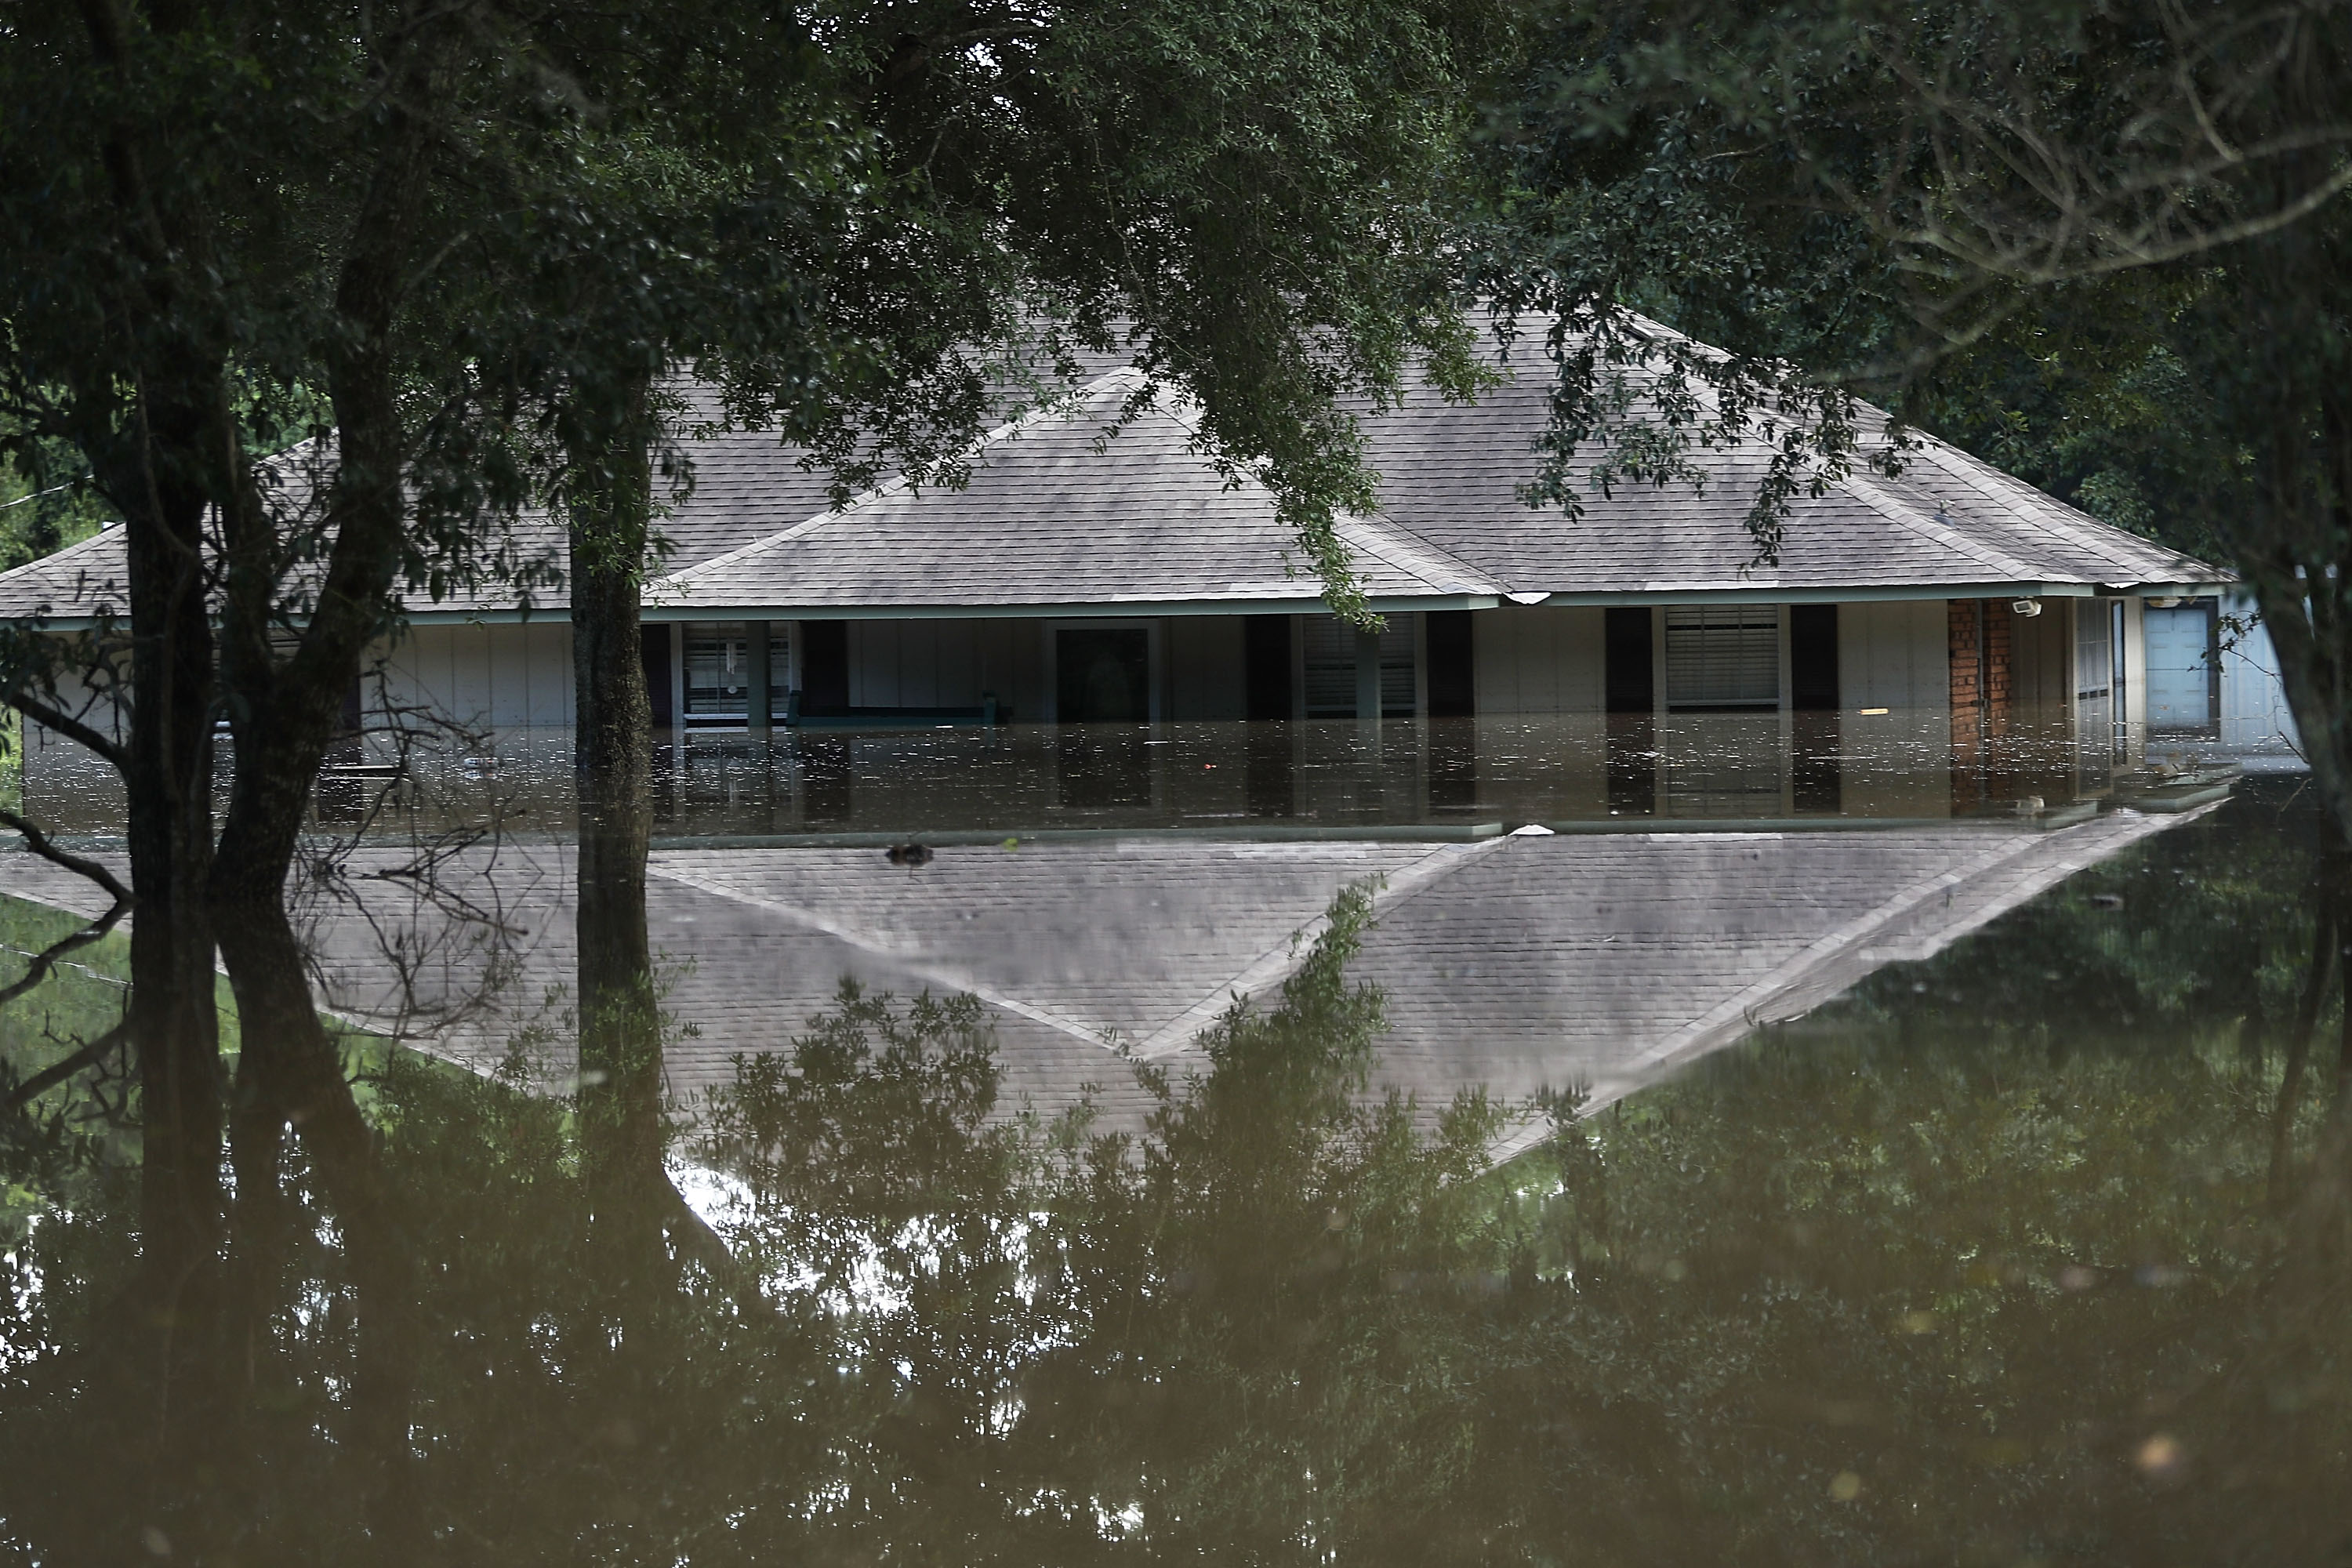
Within a couple of days, photographs can begin to mold or stick together, making them much less likely to be salvageable. Proper photo handling takes time, and if you don’t have the hours now, skip to step No. 5.
2. Separate your damaged photos — and if they’re already stuck together, place them in clean water to loosen up.
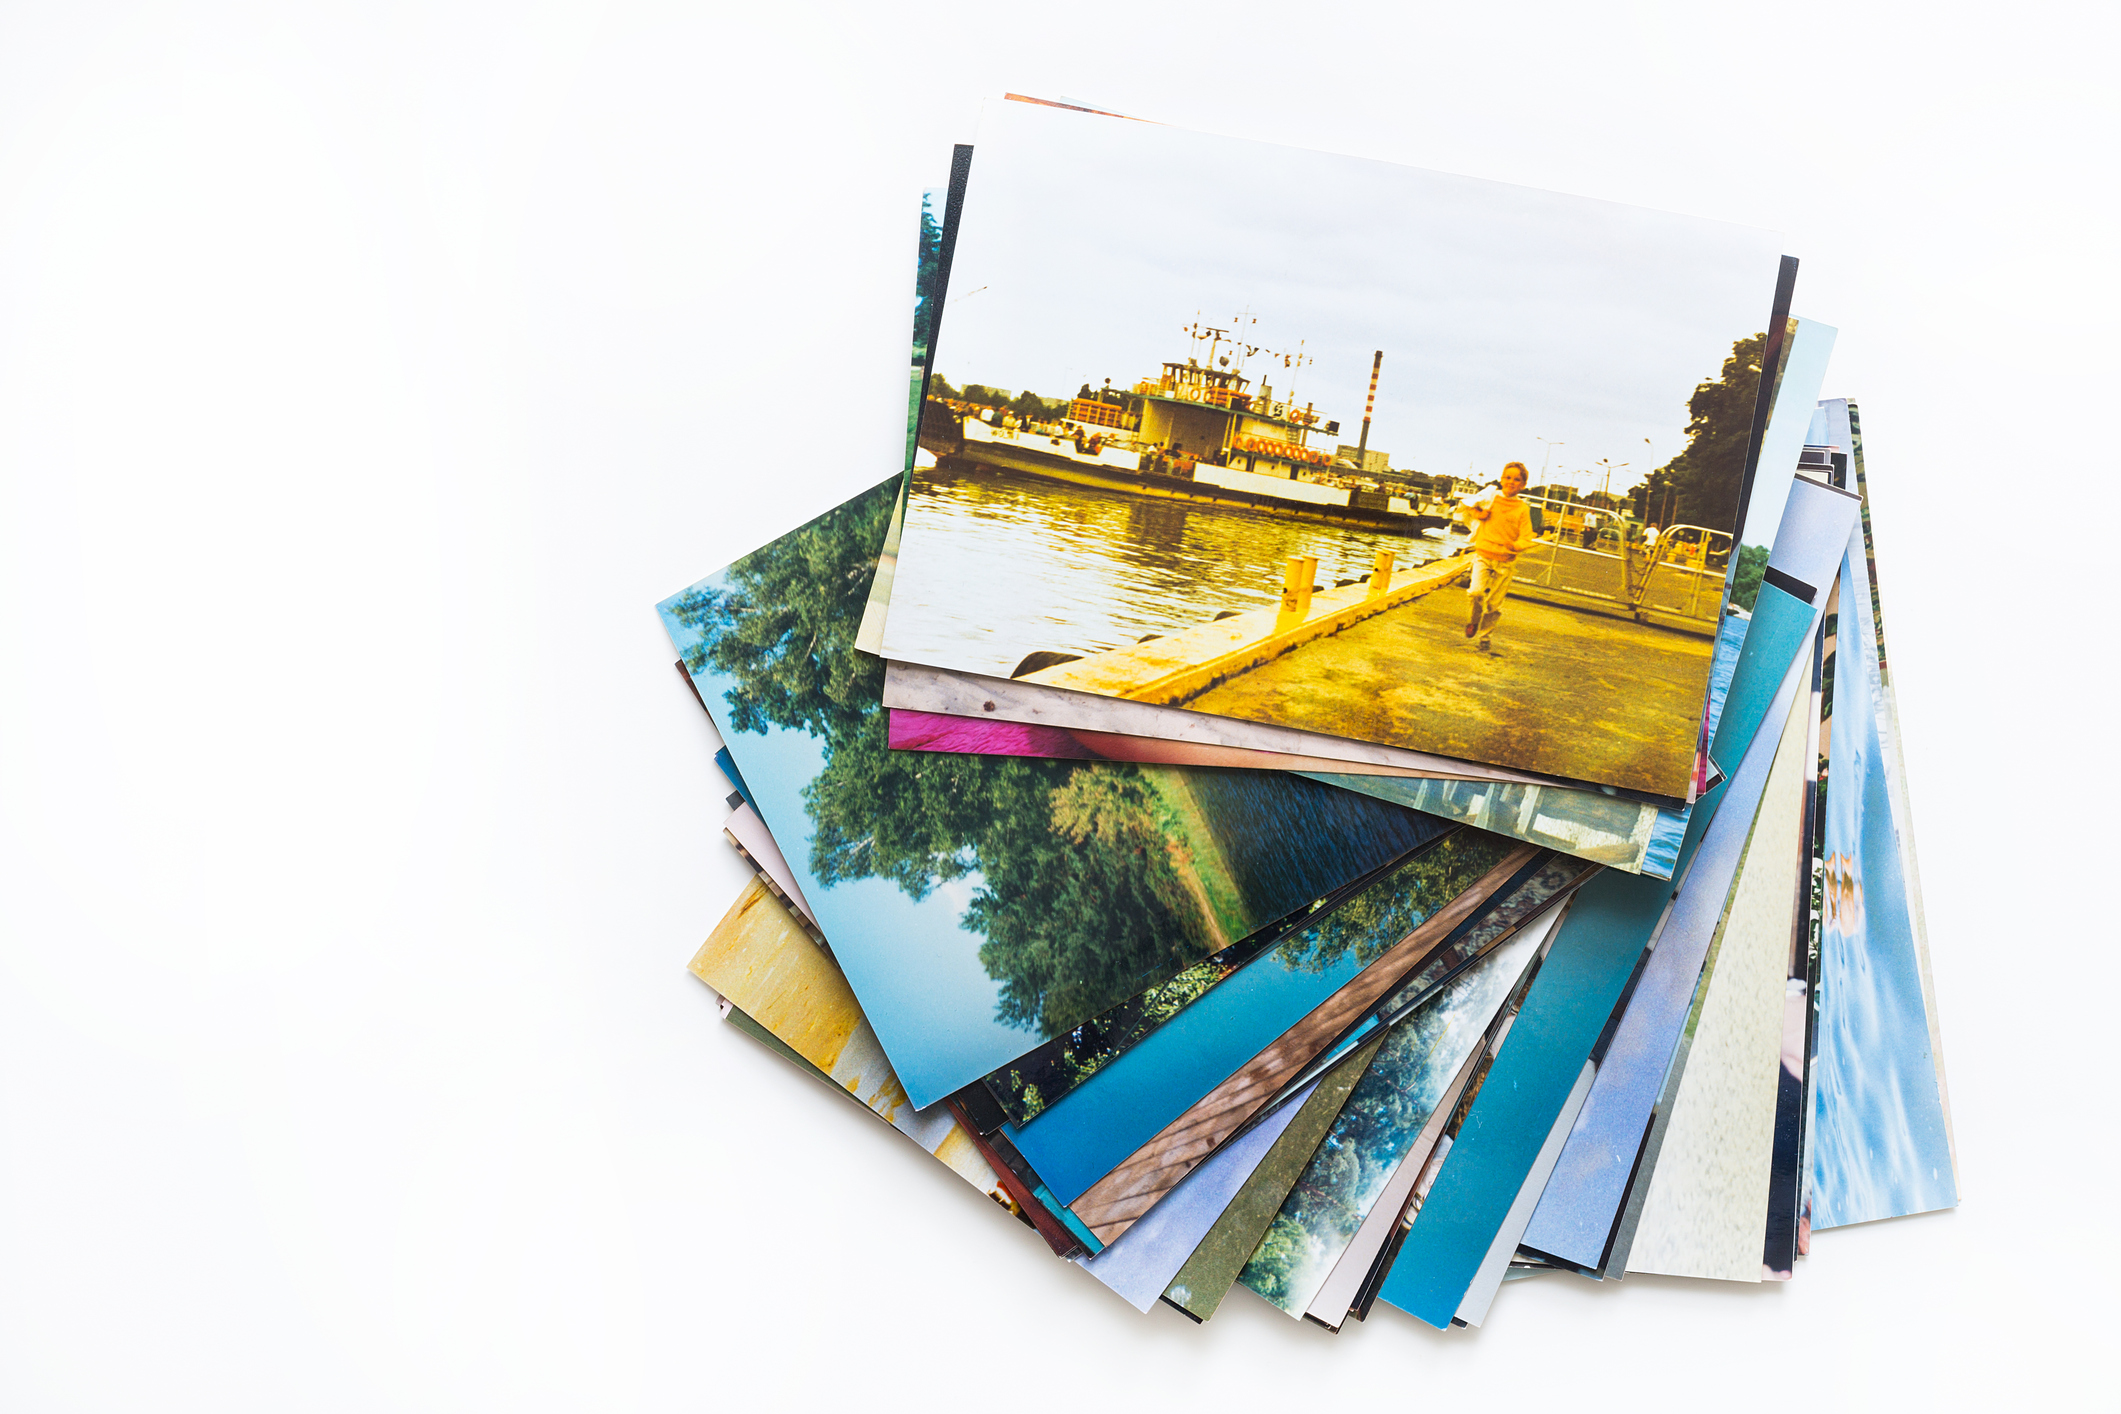
Get your photos out of the mud and dirty water as soon as possible. Remove individual photos from flooded photo boxes and waterlogged albums (take them out of plastic sleeves) and spread them out. Be careful not to touch or rub the wet surface of the photo, as the photo coating is delicate!
3. Find plenty of space to thoroughly air dry the images.
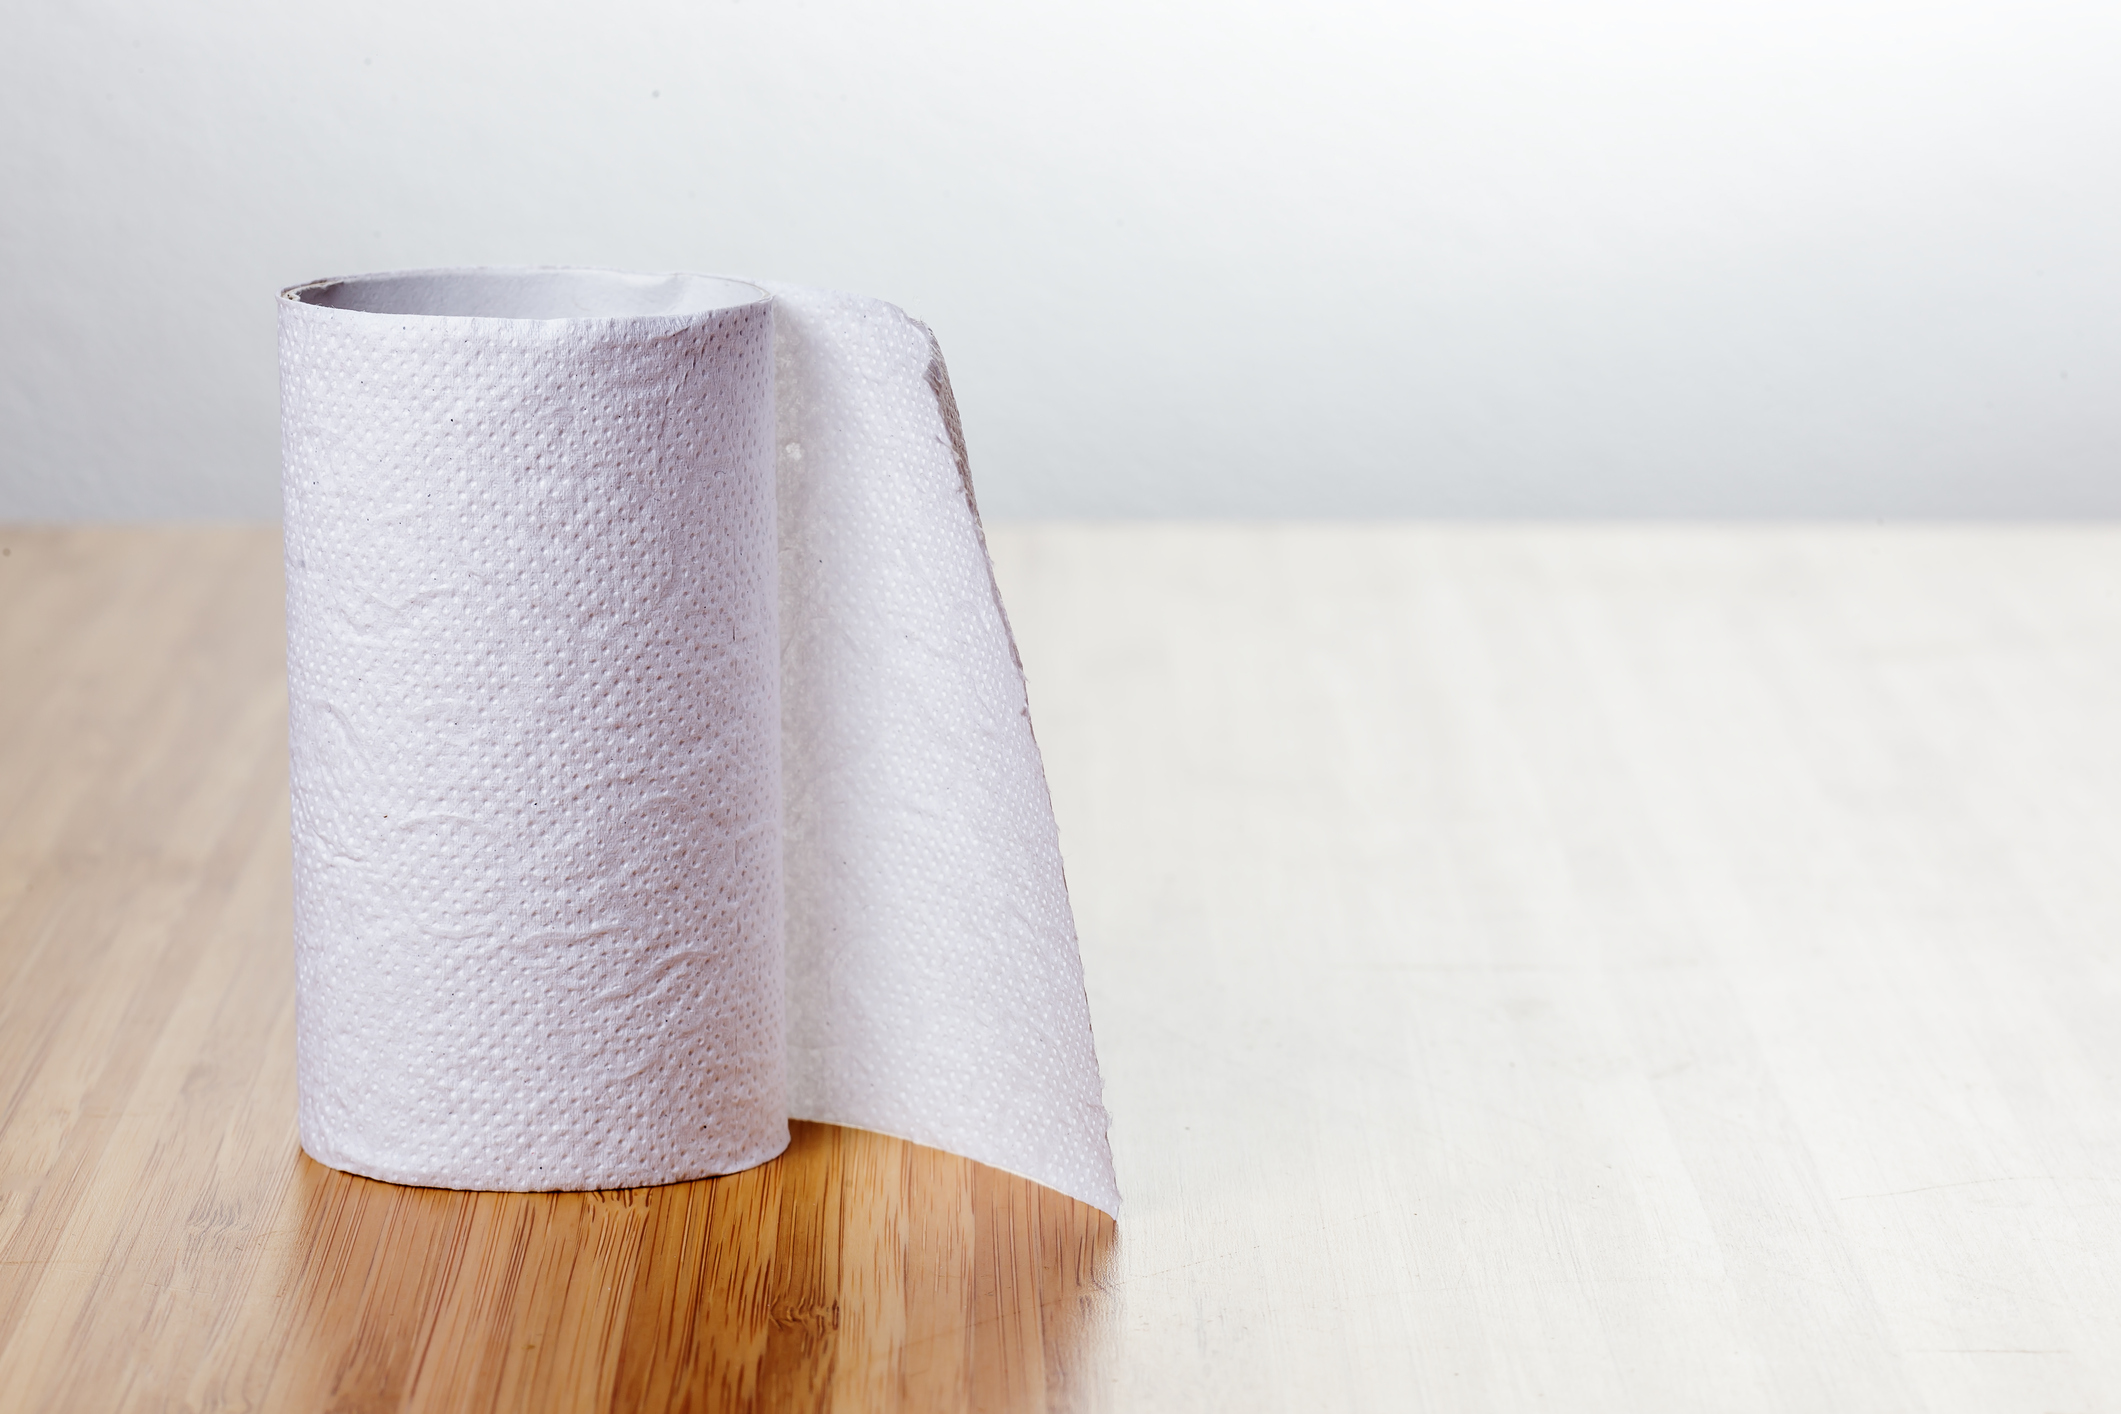
Air drying large batches of photos properly takes time and space. Find an indoor area large enough to lay out each photo face up on blotting paper or white paper towels. Do not use newspaper or anything with a print that could be transferred. Change the paper every hour or two until the photos are dry.
If you have access to fans and/or a dehumidifier, they can sped up the process.
4. Remove debris by soaking and rinsing photos carefully in clean water.

The next step is to soak and rinse the photos with clean, clear water in order to remove any mud or debris. Caution: Don’t do this until you are sure the photo surface is stable. You can check that by rubbing a cotton swab on the corner of an image to see if it smears.
Once you’re sure that the emulsion surface is set, you can gently soak and rinse photo, and then you’ll need to go through the air drying process again.
5. If you need more time, freeze damaged photos.
If you’re dealing with rebuilding your home and all the headaches of post-flood paperwork, you may not be able to prioritize photo recovery.
To buy yourself more time, store your damaged photos in the freezer.
Do a quick rinse to remove mud and debris, then stack the wet photos between sheets of wax paper, seal them in large, Ziploc-style plastic bags to be placed in the freezer.
When you’re ready to work with them, you can take them out for defrosting, separating and air drying.
6. If your treasured photo was in a frame when it got wet, keep the glass and photo together.
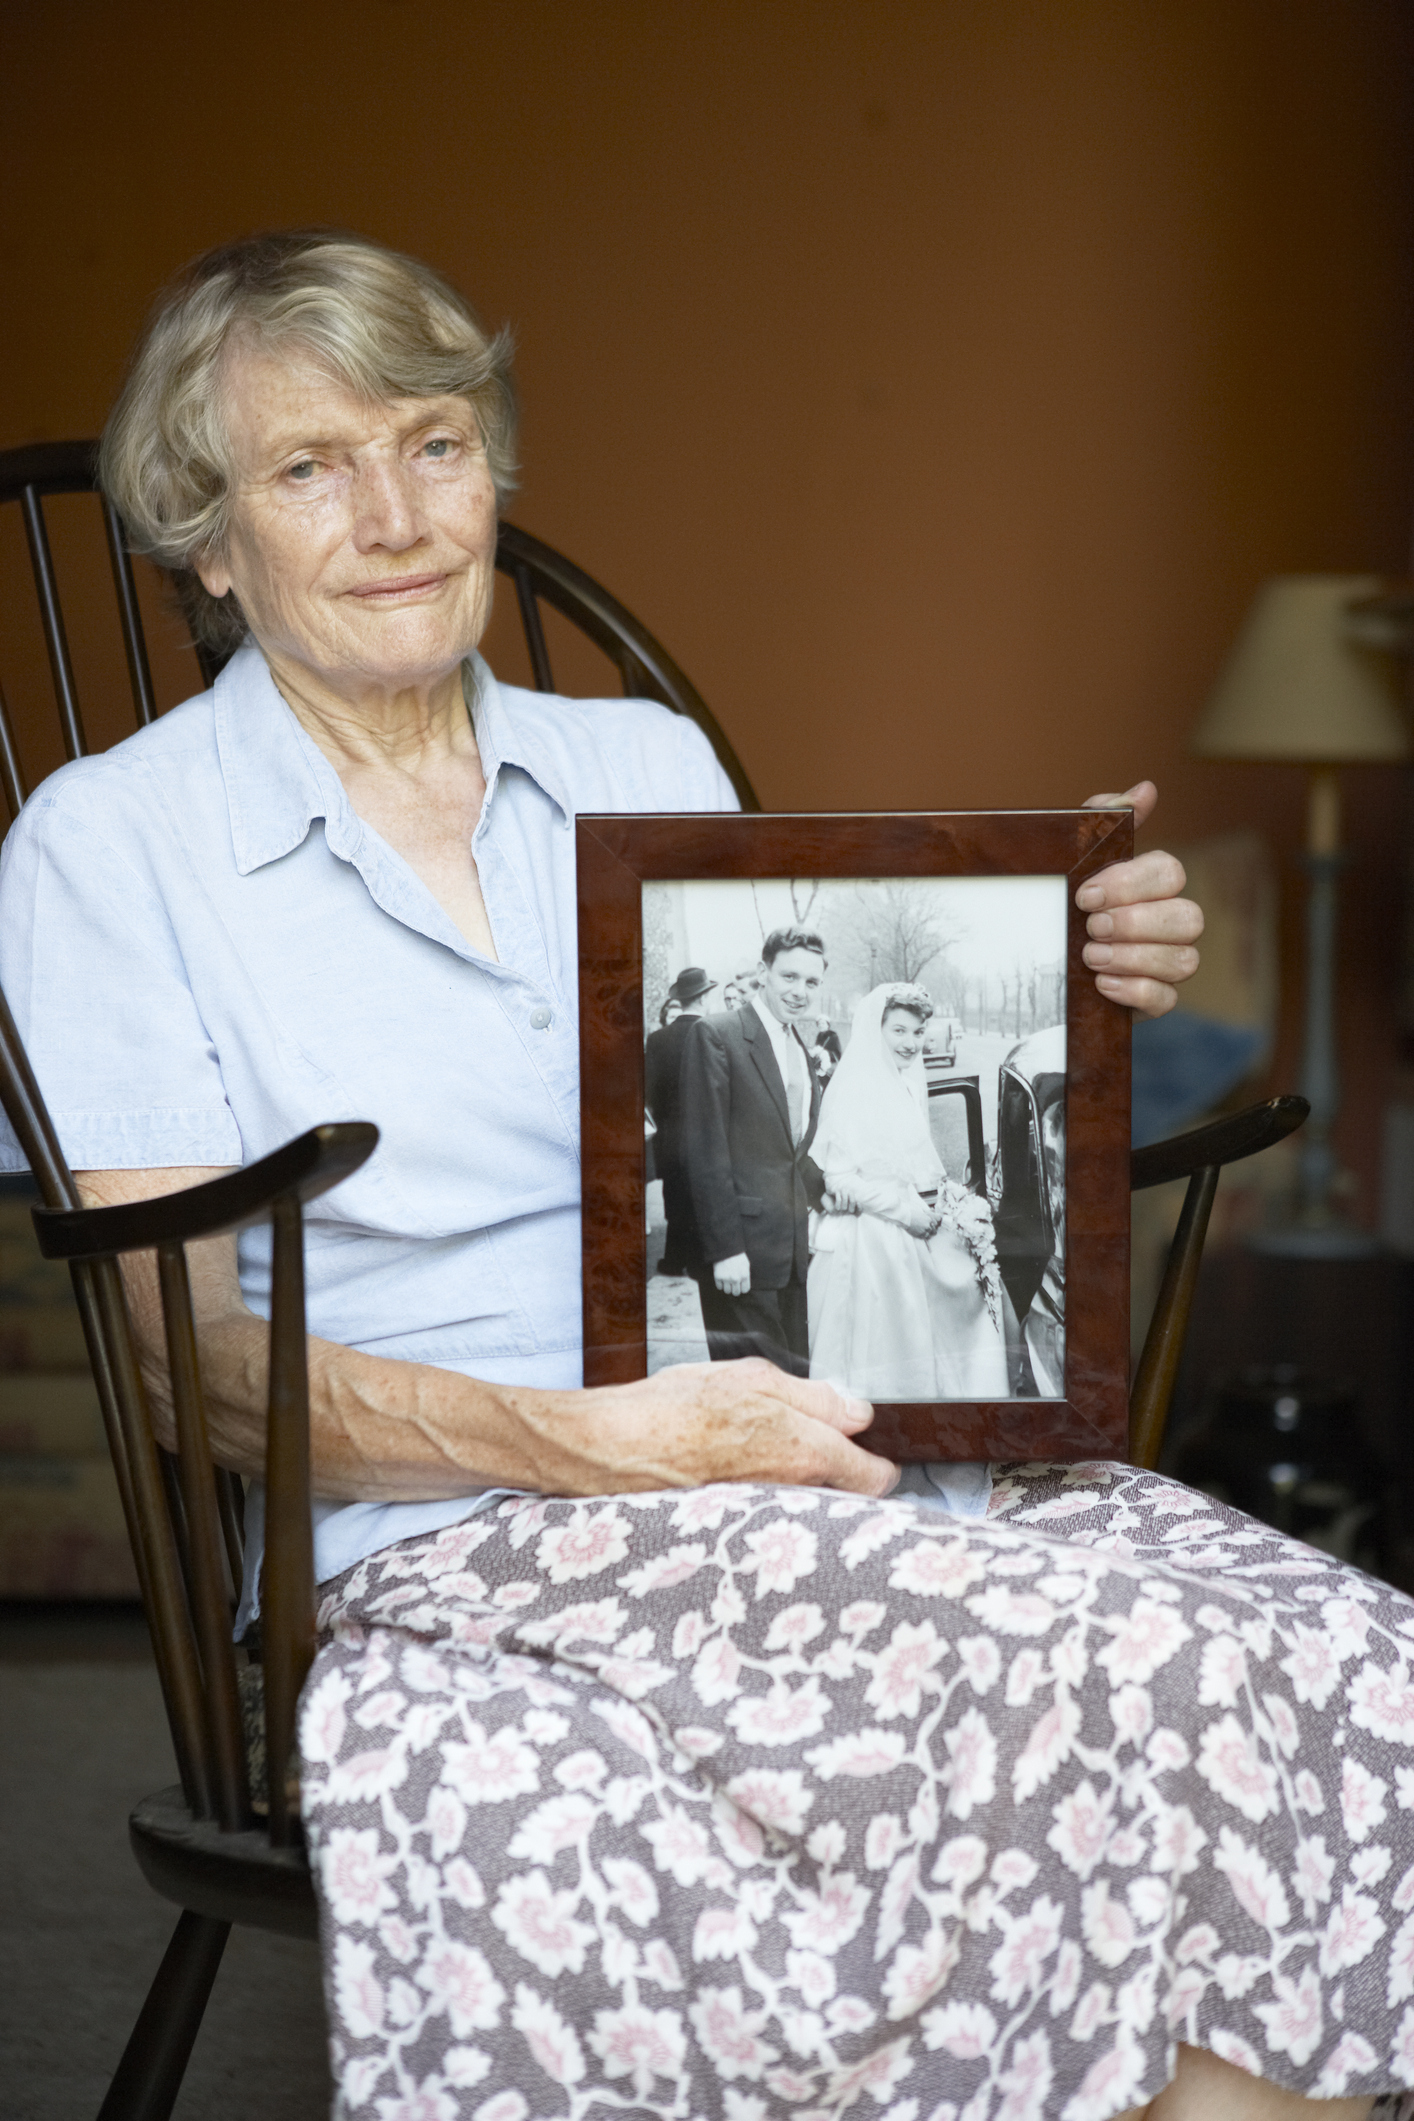
If the photo you are trying to save is in a frame, your best bet for salvage success is to get to it when it is still soaking wet.
Keep the glass and the photo together — then, holding both, rinse with clean flowing water, using the water stream to separate the image from the glass. It’s very easy for the emulsion surface to be damaged if a photo gets wet, sticks to the glass, and dries that way.
Operation Photo Rescue helped us with these tips, and they offer free restoration services on a limited basis. Click here to learn more.


